FREQUENTLY ASKED QUESTIONS
Please click the arrow next to the questions to read the answers to the following common questions.
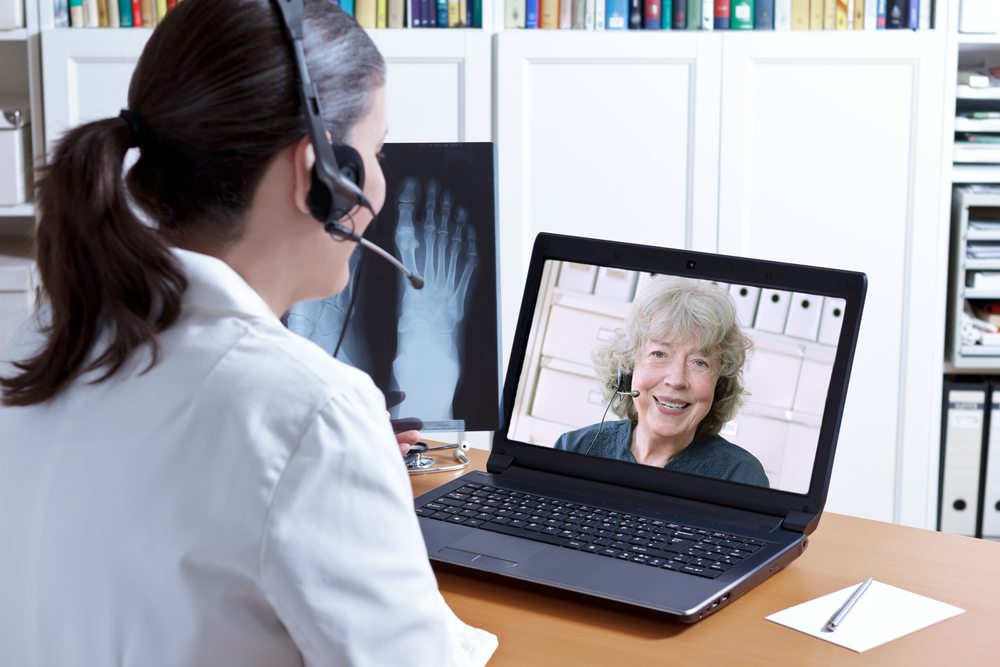
- a stable 3G/4G or internet connection via LAN or wireless
- suitable on a PC, IPAD or laptop with a microphone and a working web camera
OR
a smart phone apple IOS or android - Please check your camera and microphone before logging into a session
Several private health funds have agreed to provide benefits for individual (one on one) physiotherapy teleconsultations where:
- The customer is undergoing an existing course of treatment and the customer has seen the physiotherapist over the past six months, or
- For new patients, the tele-physiotherapy service has been recommended by their general practitioner or relevant medical specialist, and
- The primary condition being treated is one of:
- Post orthopaedic surgery rehabilitation (e.g. Total hip or knee replacement)
- Chronic musculoskeletal condition (e.g. osteoarthritis)
- Cardiac rehabilitation
- Pulmonary rehabilitation, or
- pelvic floor muscle training,
- The service is delivered before 30 September 2020, and
- The service is undertaken in accordance with Australian Physiotherapy Association guidelines.
Health funds will provide coverage for teleconsultations provided by physiotherapists from Tuesday 14 April 2020 subject to the conditions listed above.
Health fund members should check with their health fund to see if they will cover tele-physiotherapy consultations. Some funds may impose additional conditions.
Initially benefit payments will be on production of a receipt from the provider. Patients will have to pay the provider for the consultation and then claim the benefit through their health fund.
Claiming systems and health funds’ processes are not set up to deliver benefits for telehealth services automatically as is possible with face to face services. Claiming systems, PHA, professional associations and individual funds are working address the system issues as quickly as possible.
Our team is not able to provide IT support beyond directing you to the following self help.
How to set up and test microphones in Windows 10
- To install a new microphone, follow these steps:
-
Right-click (or press and hold) the volume icon on the taskbar and select Sounds.
-
In the Recording tab, select the microphone or recording device you'd like to set up. Select Configure.
-
Select Set up microphone, and follow the steps of the Microphone Setup Wizard.
-
- To test a microphone that has already been installed:
-
Right-click (or press and hold) the volume icon on the taskbar and select Sounds.
-
In the Recording tab, look for green bars rising as you speak into your recording device. If the bars are moving, your device is connected and working properly.
-
- If your recording device isn't working, you may need to update your drivers.
OPEN THE CAMERA IN WINDOWS 10
-
To open up your webcam or camera, select the Start button, and then select Camera in the list of apps.
-
If you want to use the camera within other apps, select the Start button, select Settings > Privacy > Camera, and then turn on Let apps use my camera.
-
From there, turn on each of the listed apps where you want to use the camera.
Control access to your microphone on Mac
Physica Teleahealth requires the use of the the microphone on your Mac to capture or record audio.
-
On your Mac, choose Apple menu
 > System Preferences, click Security & Privacy, then click Privacy.
 -
Select Microphone.
-
Select the tick box next to an app to allow it to access the microphone. (You will need to allow your internet browser to allow for audio)
Unselect the tick box to turn off access for that app.
If you turn off access for an app, you’re asked to turn it on again the next time that app tries to use your microphone.
-
How to adjust microphone volume on a Mac
Use the built-in camera on Mac
Many Mac computers and displays have a built-in iSight, FaceTime, or FaceTime HD camera located near the top edge of the screen. The camera automatically turns on when you open an app that can take pictures, record videos, or make video calls. You can decide which apps are allowed to use the camera on your Mac. See Control access to your camera on Mac.
-
Turn the camera on: On your Mac, open an app that can use the camera, such as FaceTime, Messages, or Photo Booth. A green light beside the camera glows to indicate that the camera is on.
-
Turn the camera off: On your Mac, close or quit all apps that can use the camera. The green light beside the camera turns off, showing that the camera is off.
If the microphones on your iPhone?Ipad isn't working
- Please visit the following Apple help page- https://support.apple.com/en-au/HT203792
If the camera on your Iphone or Ipad is't working
- Please visit the following Apple help page- https://support.apple.com/en-au/HT203040
Camera or Microphone is not working on Android device
- Please visit the following help page- https://support.google.com/chrome/answer/2693767?co=GENIE.Platform%3DAndroid&hl=en